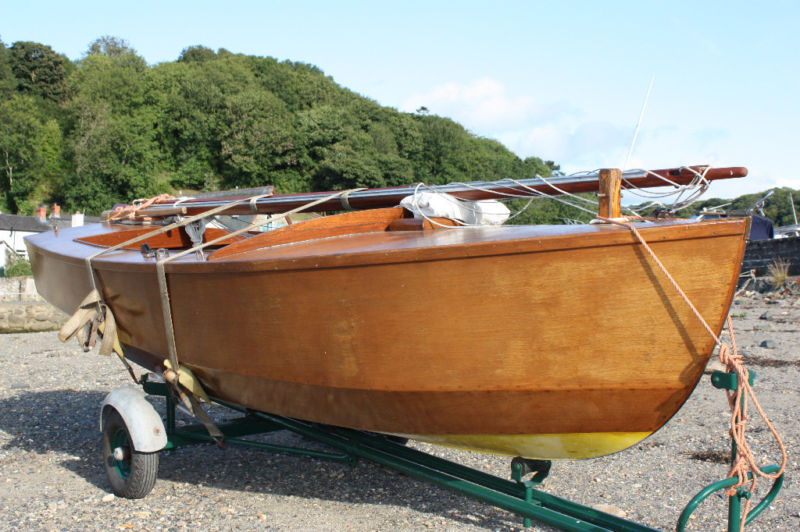
The Restoration of Junior – Part 1
Posted on

We are always having interesting and unusual projects turn up that need that certain black bear magic.
Recently we were asked to save a 1954 designed yachting Monthly junior designed by Kenneth Gibbs.
The boat was delivered to us on its trailer, but the whole lot had been loaded onto a larger trailer and brought to us. Thank the lord they did, otherwise we would have been having the bonfire there and then, as the trailer collapsed as we were trying to down load. However, use of the forklift and a sack barrow had the boat on our drive.
The junior was one of many designs sponsored by yachting monthly to encourage people into sailing. I would not say its fast by today’s standards but they are stable robust and fairly cheap to build great for learning to sail and for some camping.
Initial findings where that this boat was originally well built and absolutely built to the plans. However, there were considerable amounts of rot and delamination of the ply and areas that had gone soft or in my view just needed a bit of strengthening.
I was asked if the boat could be restored: I had to have a think about this, restored to me means to bring like new and often means a lot of replacing of timber and such like. I did not want to do this, I was hoping to revive the boat to make her safe to use, she would look good and would preserve as much of the life that the original builder had given her.
One thing I noticed was the lack of a name, but we shall come to that later.
The above plans show the general lay out and sail plan as she was built. Plans are supplied by the kindness of the Eventide Owners association where these and other plans can be down loaded free of charge.
My first task was to clean her out of the dirt she had picked up, then a quick look showed that I need to stabilise the skin to stop it coming away from the frame as the copper and brass fittings had all perished
Now much has changed since this boat was built one of the best changes is the use of Epoxy and plastics. So first I started to stitch together the panels using plastic nylon nails
These nails are put in with an air gun and can be glued painted sanded and cut, they are great for this sort of work.
