Fuel Tanks
Posted on
Making fuel tanks for our schooner. There is always the question of what sort of fuel tanks to have, do we buy ready-made ones and make the boat fit the tanks or do we have them made to fit the boat, what do we make them of mild steel. stainless steel. plastic or flexible rubber, what do we do.
Well here at Epoxy.ltd & black bear boating we have another alternative: to make the tanks out of marine ply and epoxy resin. We use MAS Fuel epoxy
https://www.epoxy.ltd/shop/epoxy-resins/fuel-tank-build-repair-epoxy/
This we find gives us maximum literage for space and we can control the cost and quality of the tank.
We start by coating the area to be used with MAS low-vis epoxy https://www.epoxy.ltd/shop/epoxy-resins/mas-low-vis-resin/
this then gets a second coat of MAS Flag epoxy which is a thicker resin with dissolved fibers already in the resin
https://www.epoxy.ltd/shop/epoxy-resins/mas-flag-thick-resin/
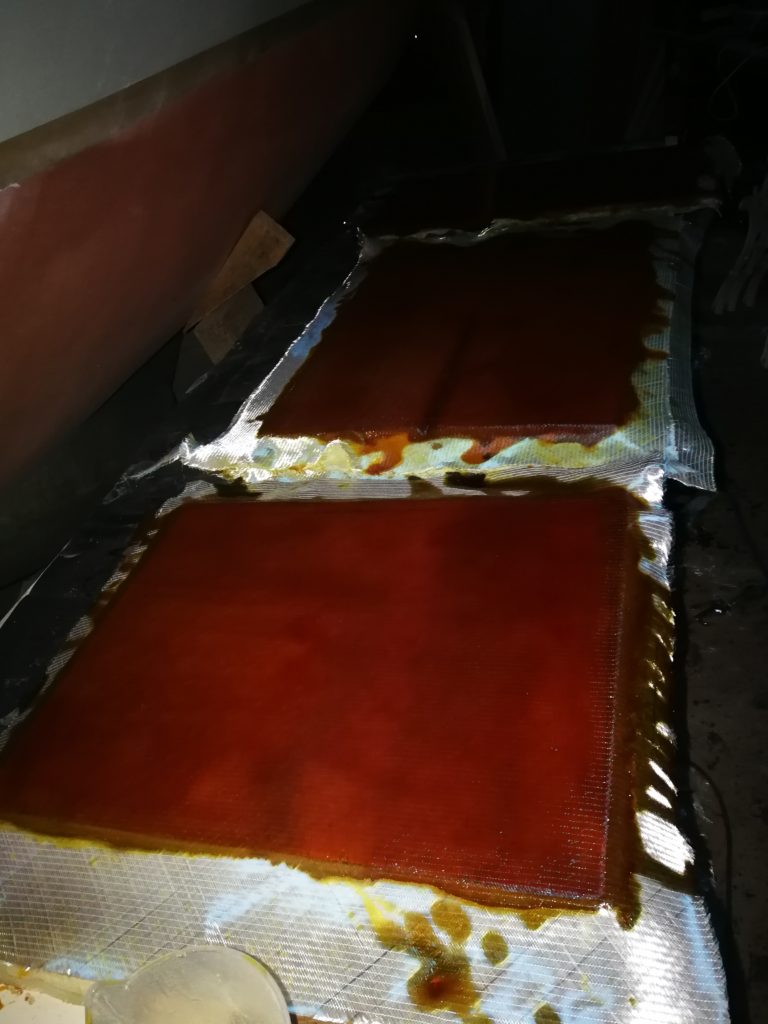
once this is done we cut the panels of the tank from super ply, which is a better quality ply than just standard marine ply, these panels are then coated and clothed using MAS low vis resin and hardener and 450 biaxial cloth. once this has cured we use 3 layers of 450 biaxial cloth soaked out with MAS Fuel epoxy this is rolled into the cloth with the aid of a hot air gun
for the mix ratio of MAS fuel please call us on 07904446306
We then glue these panels into place using Fuel with Workshop Mix 3 which is available from http://epoxy.ltd


These panels go into our glue house and we cook them at 25 deg c for 24 hours
Once we are ready to glue the panels in place this gives us ou tank but without the lid. The tank on the schooner both diesel and water tanks will have baffle plates inside them to cut down the sloshing effect.
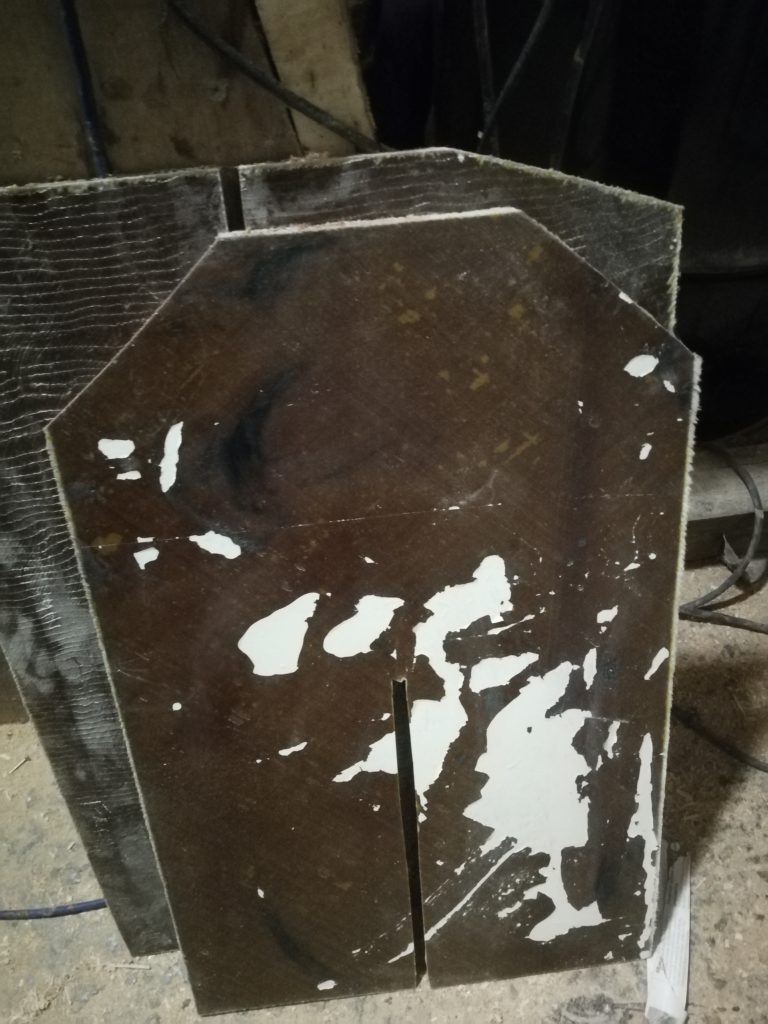
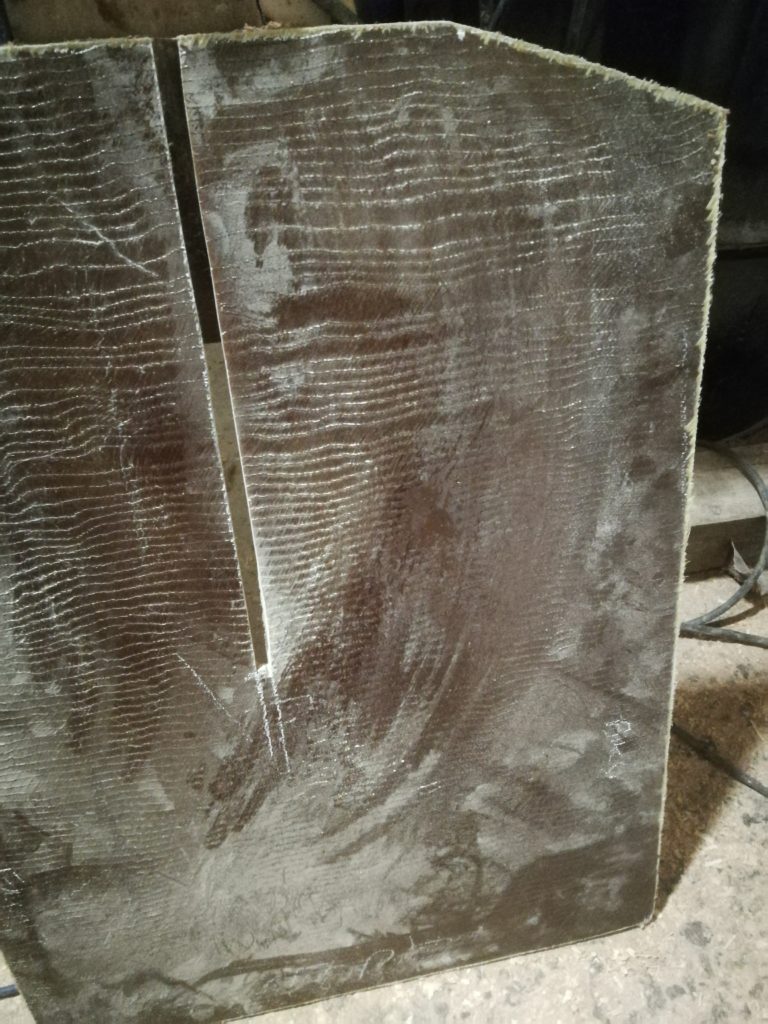
These are epoxy and cloth panels we make up in house.
Epoxy panels can be easily made and used for a wide viriety of projects they are very strong they dont rot.
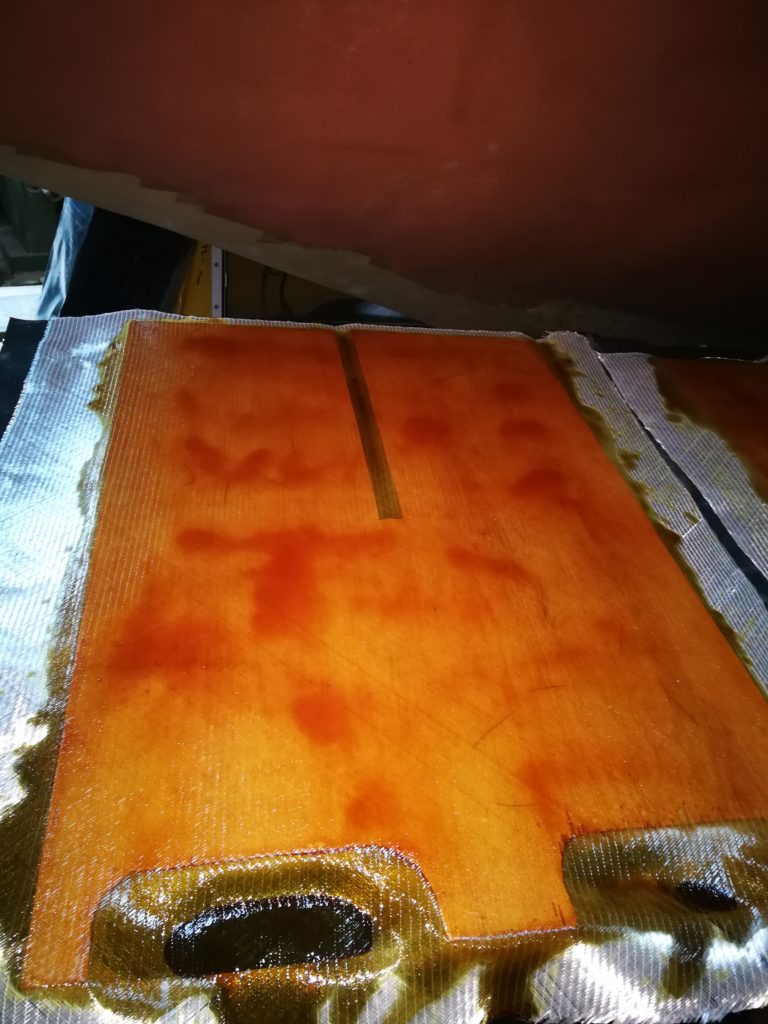
We have an old flat door that has a couple of coats of gloss paint on, we use wax on this applied with a polish cloth, the panels for the fuel tank were made using ordinary shoe polish spread out on the flat surface of the table we always try to go a good 2 inches further than the edge of the cloth. we also cut the cloth bigger than the panel we need so we dont push the epoxy to the edge and end up wasting the epoxy.
Next we lay our first layer of cloth onto the wax 9 this layer may be a layer that is sanded away depending on how the wax penetrates with the heat build up from the epoxy. The next layer is put on we use 450 biax cloth for this project. we mix up the fuel epoxy and with a heat gun and roller we pour on the epoxy and roll it in while the surface is still we we start laying cloth rolling a layer of epoxy onto each layer of cloth. depending what we want the panel for we put on one layer of cloth at about layer 4 and roll it dry with the hot air gun to soak up any free epoxy then we continue with epoxy and cloth until we get our required thickness.

We let this set over night and prize them up the next morning we find we get bits of paint peel off with them but don’t worry at this point . we then put the unfinished panel in the warm to post cure for 24 or 48 hours the panel is then trimmed with a diamond blade or stainless steel cutting blade to the required shape and is sanded both sides before a final painted coat of epoxy prior to being stuck in the tank

The next thing will be to make the tank tops these will have 1.5 inch copper feed pipes and a 28mmm hand pump to day tank and a 10mm line electric pump to the day tank there is no gade on these tanks but the 10 mm lines out there are two one at the bottom of the tank the other about 3/4 of the way down the higher one is our main use one but when it draws air we can turn a three way valve to the deeper outlet our reserve which tells us we need to refuel. We are waiting parts on this so they will be here soon virus allowing and we will post pictures for you
